文章说明:介绍在vyos软路由上配置container容器,vyos最新滚动版1.5已经支持在vyos命令行中启动docker容器,在vyos官网介绍是说1.3版本之后就都有这个功能了,如果你的版本是1.3之后的可以玩container,接下来介绍怎么创建容器,比如搭建一个Halo博客。
一、vyos安装
二、vyos基本配置
三、拉取镜像
3.1、查看镜像命令
show container image

3.2、方法一
sudo podman image pull docker.io/nineya/halo-plus:1.1.4
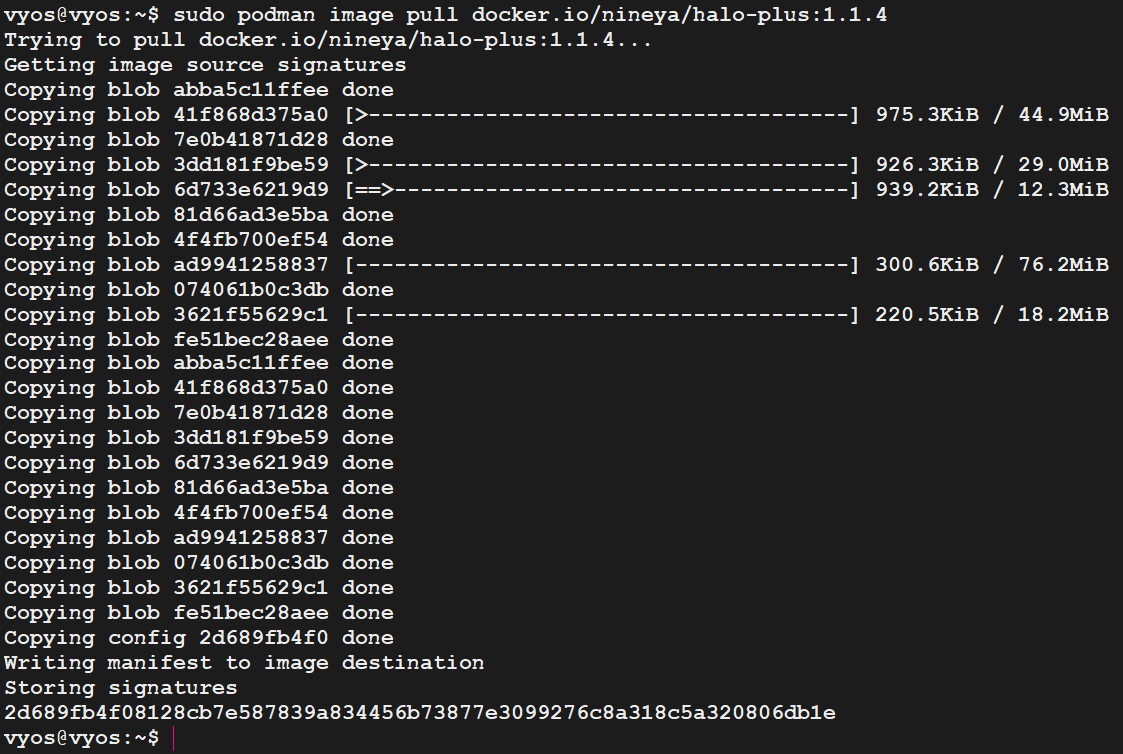
show container image

3.2、方法二
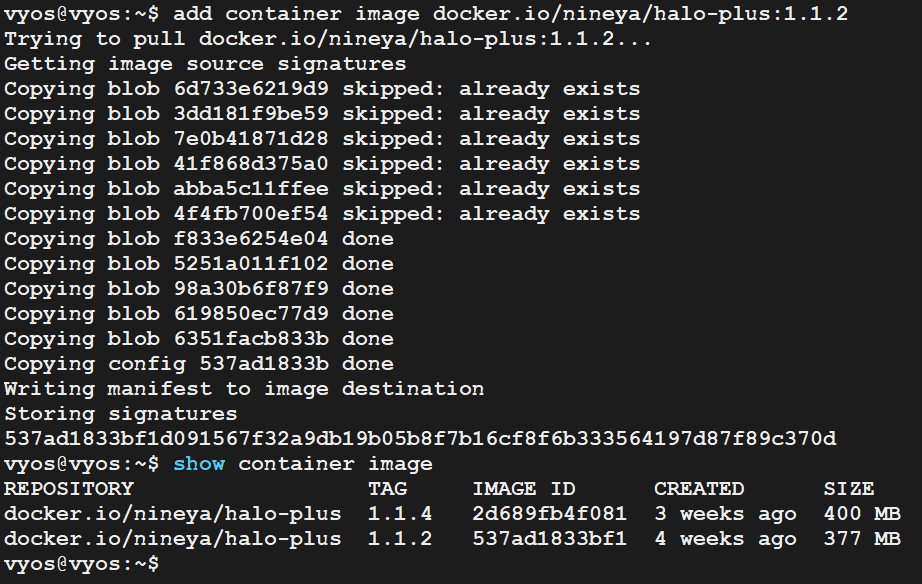
add container image docker.io/nineya/halo-plus:1.1.2
四、删除镜像
delete container image 537ad1833bf1
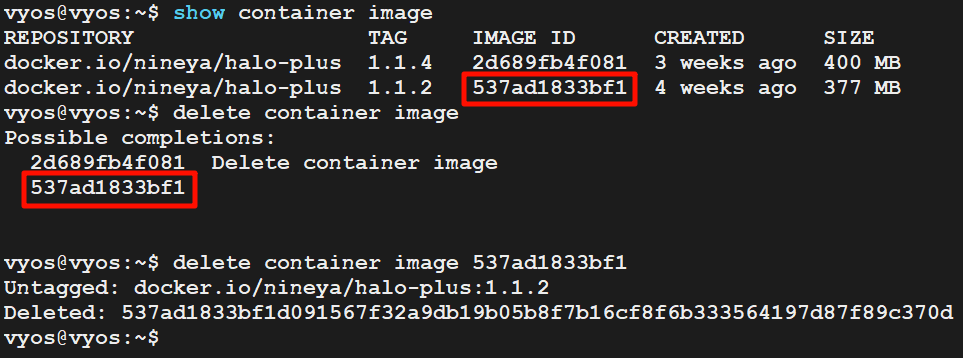
show container image

五、创建容器
5.1、创建卷
sudo mkdir -p /home/vyos/halo-plus;cd /home/vyos/halo-plus;sudo mkdir .halo-plus
pwd #查看当前路径
ls -al #查看.halo-plus是否创建成功,下面配置容器外部卷需要使用

5.2、配置容器镜像
configure #配置模式
set container name halo image 'docker.io/nineya/halo-plus:1.1.4'
5.3、配置容器网络
set container name halo allow-host-networks
5.4、配置容器名称
set container name halo host-name halo-plus
5.5、配置容器状态
set container name halo restart always
5.6、配置容器内部卷
set container name halo volume halo destination '/root/.halo-plus'
5.7、配置容器外部卷
set container name halo volume halo source '/home/vyos/halo-plus/.halo-plus'
commit #应用以上配置
save #保存配置到config.boot开机启动配置文件中
六、查看容器状态
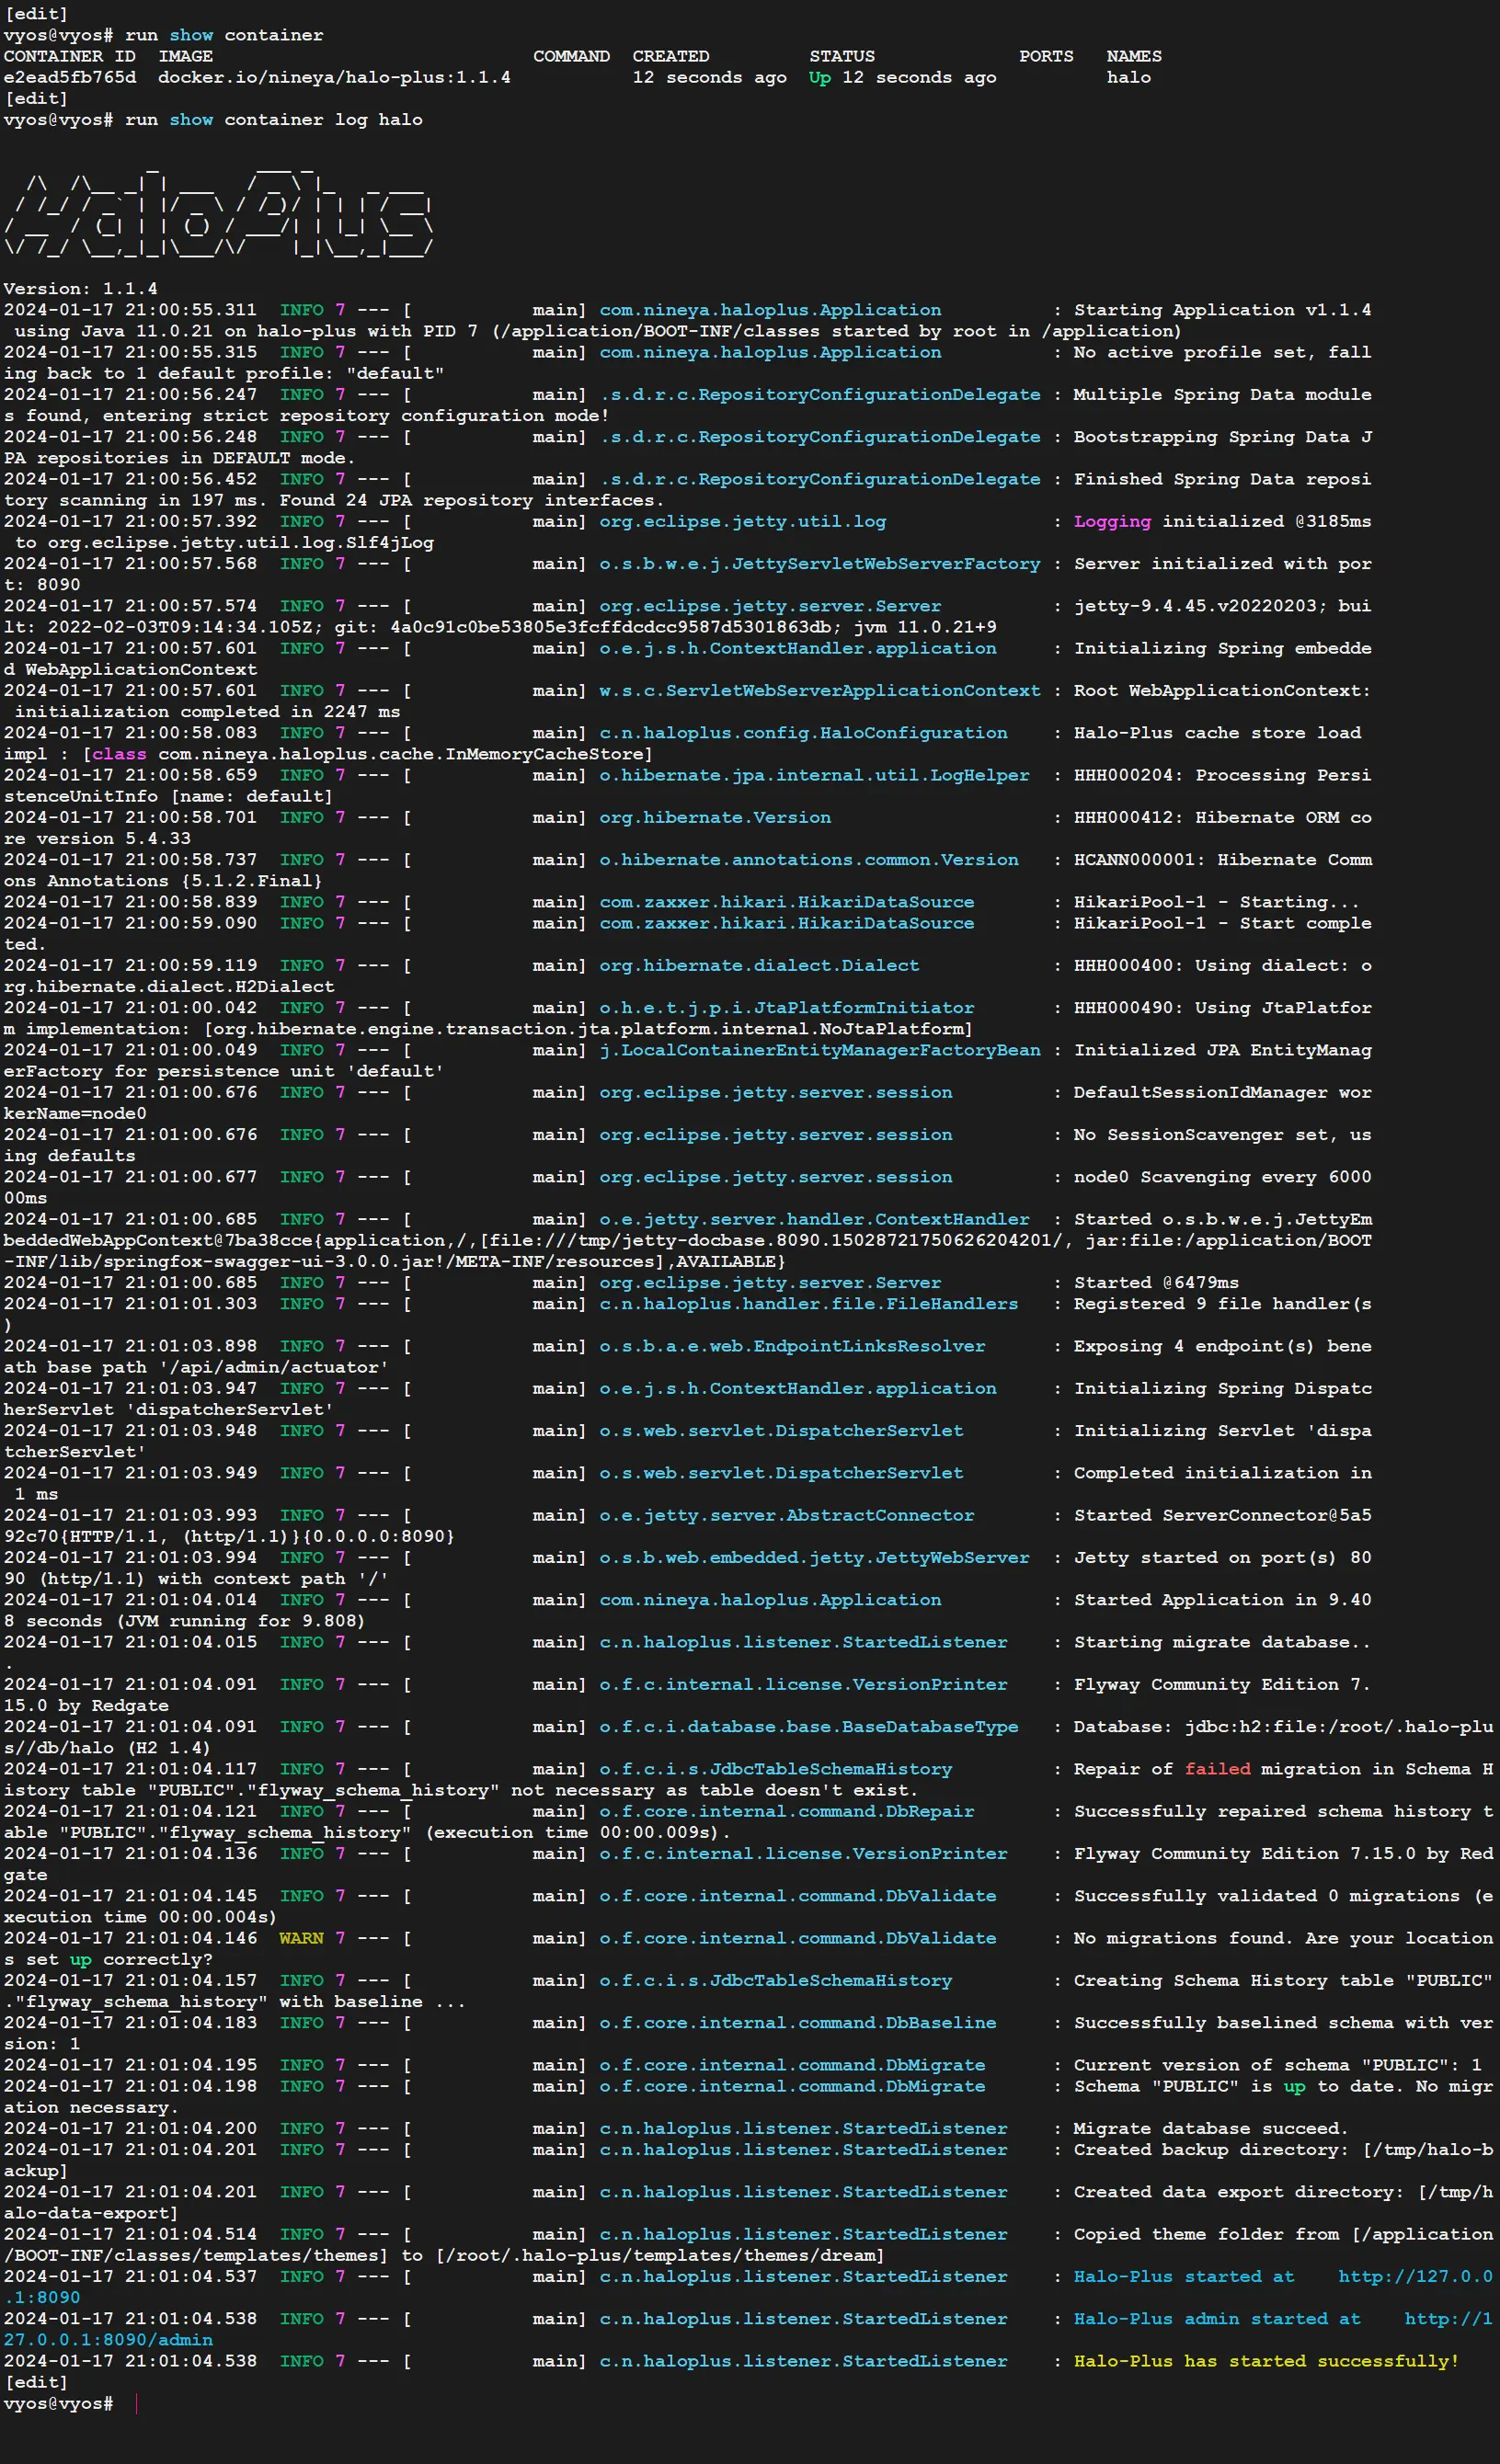
run show container

七、查看容器日志
run show container log halo
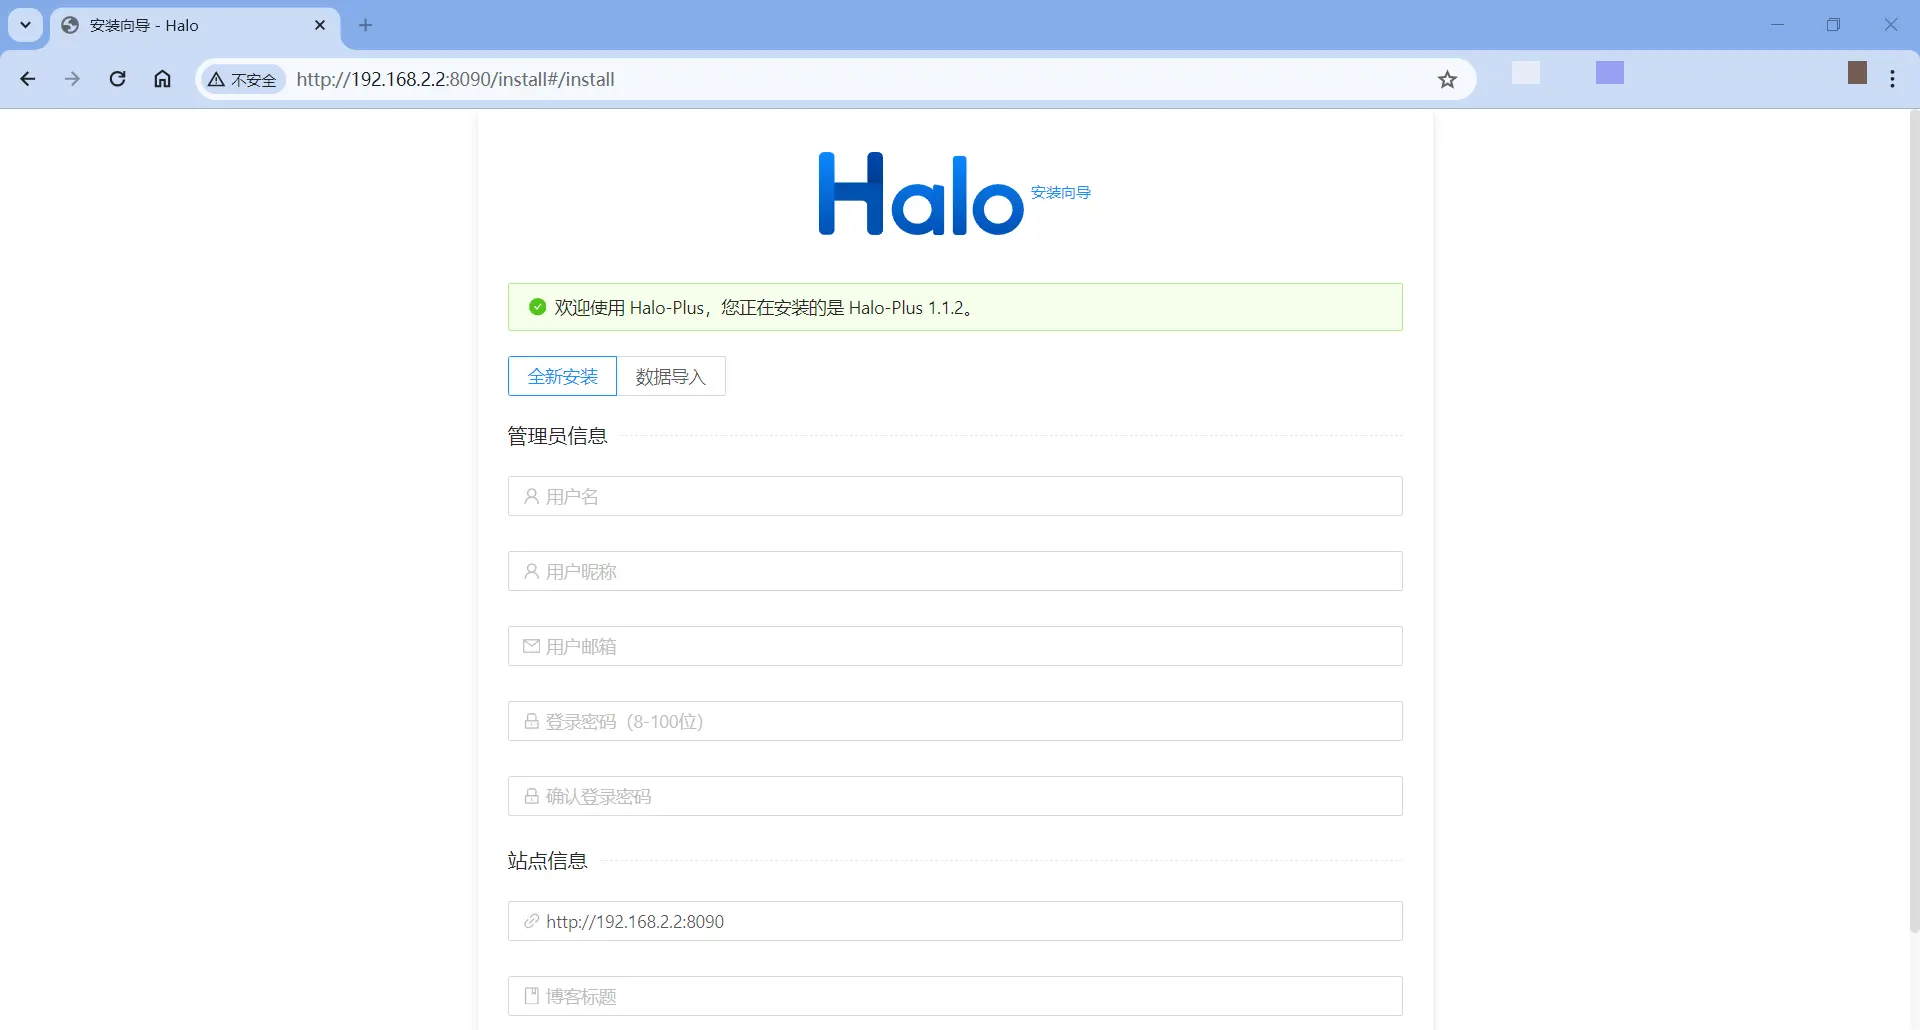
八、访问Halo测试
九、迁移本站测试
