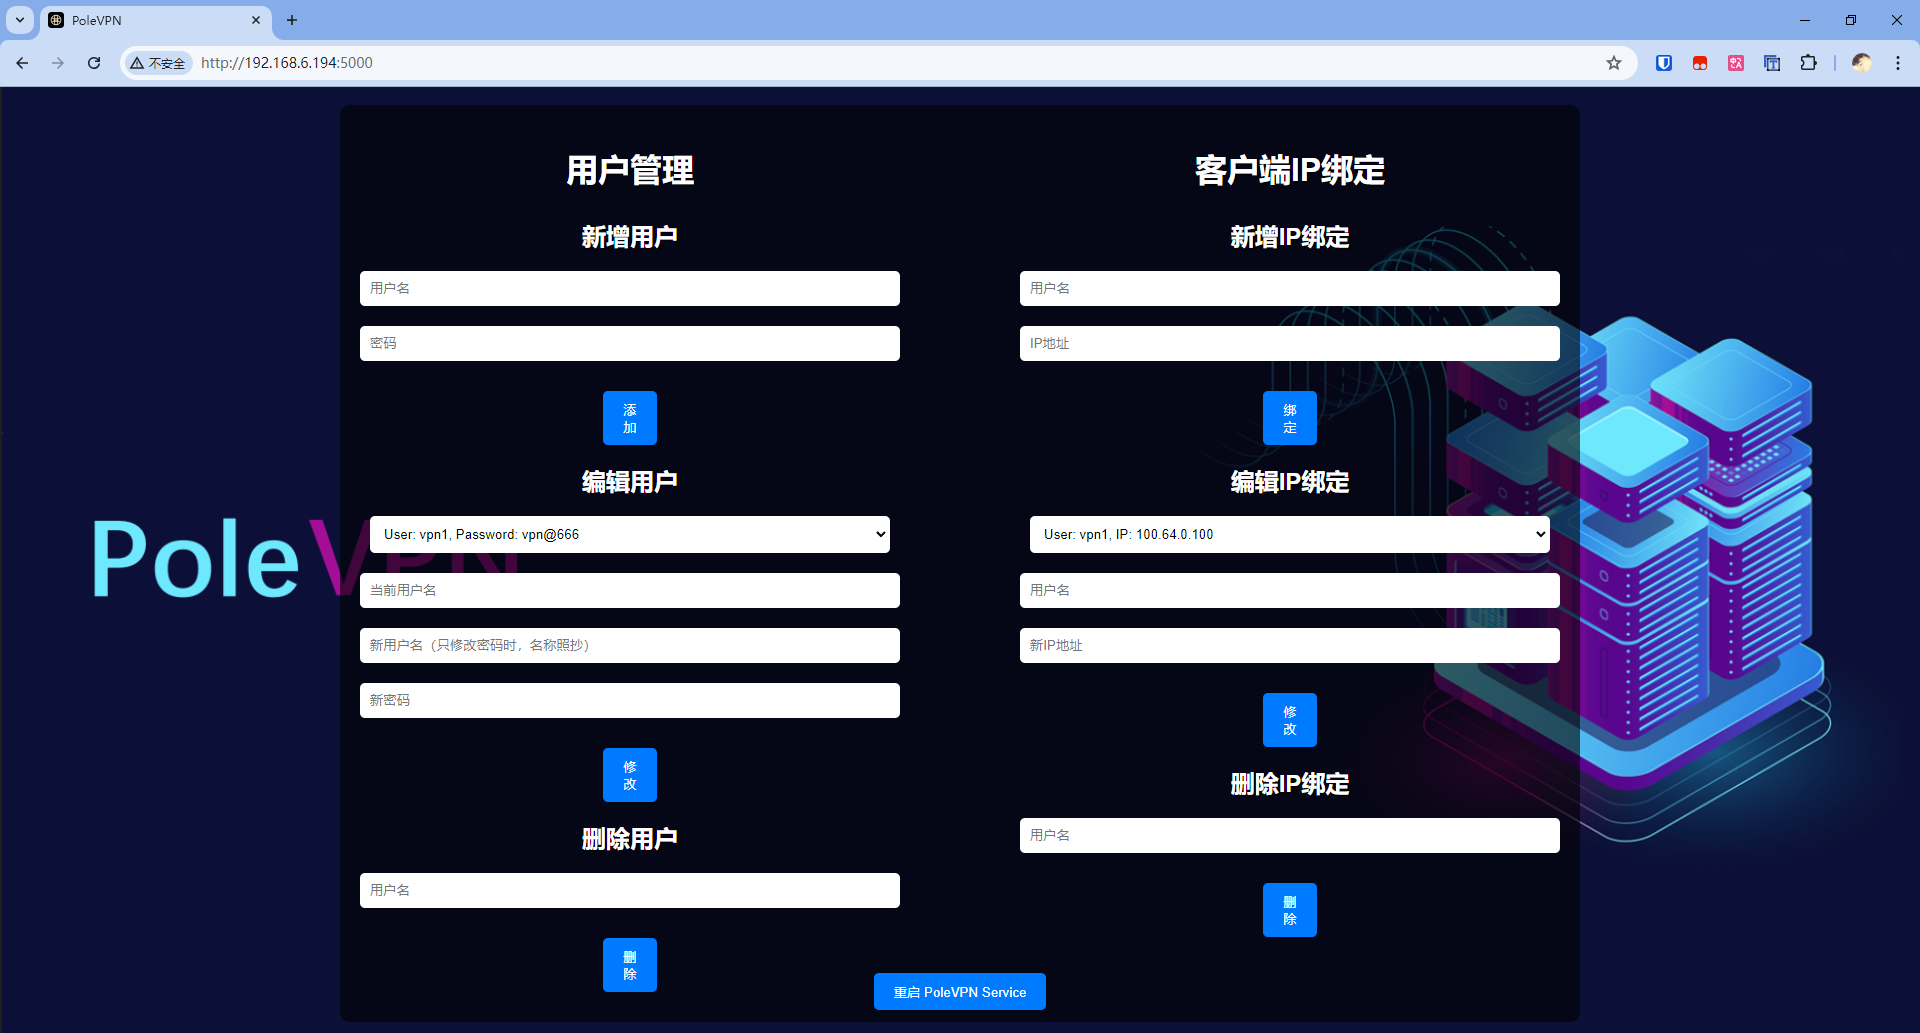
文章介绍:PoleVPN是一个开源而强大的可应用于远程接入、局域网连接、IOT设备组网等多种应用场景,通过wss和h3s协议,规避ISP公网UDP协议QOS的问题,提供用户高速连接稳定访问特性,本期介绍使用PoleVPN使能SSLVPN功能,给电脑手机使用用于连接公司内网,可通过Web管理添加,修改,删除用户账号密码,并提供编辑,添加,删除用户IP绑定功能,以及重启服务功能,可满足日常运维使用。
一、项目介绍
企业级VPN
- 部署配置方便,一键接入(支持记住账号密码)
- 全程TLS 通信加密,安全可靠
- 支持网桥功能,快速远程组网
- 支持IOT 设备组网
- 可以作为代理服务器
- 全客户端支持(ios android,windows,macos,linux)
- 支持流量控制,限速(全局,非单IP)
- 支持本地账号密码,http接口,LDAP认证方式
- 代码开源
为什么会有PoleVPN
- 疫情期间远程办公,需要有VPN来接入公司,IDC资源
- 跨国团队,VPN不能被GFW墙,用OpenVPN 会被墙(虽然可以通过其他隧道方式伪装)
- 需要有网桥功能,路由功能,能够打通公司网络,测试环境网络,开发环境网络,方便开发人员调试开发
- 配置不能太复杂(OpenVPN 安装,维护太复杂了)
二、安装部署
2.1、下载服务端
sudo apt install -y wget tar
sudo wget --no-check-certificate https://www.polevpn.com/download/polevpn_server.tgz
2.2、解压缩
tar -xzvf polevpn_server.tgz -C /opt
2.3、修改配置
2.3.1、进入目录
cd /opt/polevpn_server
2.3.2、修改config.json
nano config.json
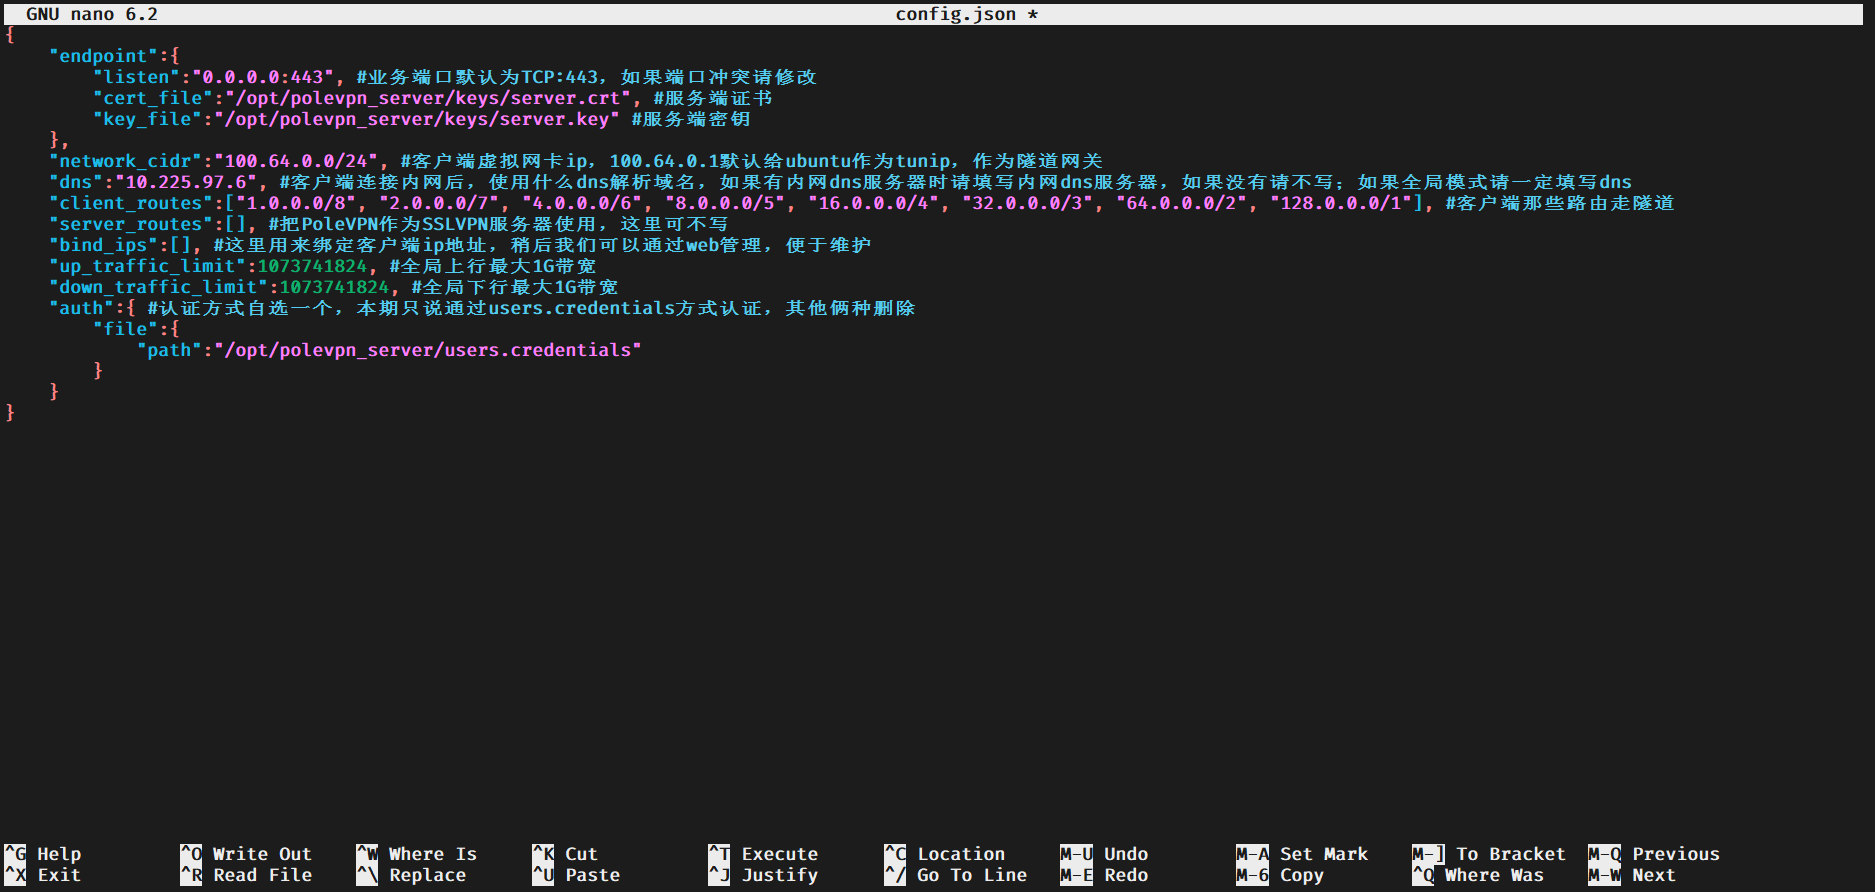
{
    "endpoint":{
        "listen":"0.0.0.0:443",
        "cert_file":"/opt/polevpn_server/keys/server.crt",
        "key_file":"/opt/polevpn_server/keys/server.key"
    },
    "network_cidr":"100.64.0.0/24",
    "dns":"10.225.97.6",
    "client_routes":["1.0.0.0/8", "2.0.0.0/7", "4.0.0.0/6", "8.0.0.0/5", "16.0.0.0/4", "32.0.0.0/3", "64.0.0.0/2", "128.0.0.0/1"],
    "server_routes":[],
    "bind_ips":[],
    "up_traffic_limit":1073741824,
    "down_traffic_limit":1073741824,
    "auth":{
        "file":{
            "path":"/opt/polevpn_server/users.credentials"
        }
    }
}
2.3.3、修改init.sh
cd /opt/polevpn_server/tools && nano init.sh

echo 1 > /proc/sys/net/ipv4/ip_forward
sudo sysctl -w net.core.rmem_max=6500000
iptables -t nat -A POSTROUTING -s 100.64.0.0/24 -j MASQUERADE
ufw disable
2.4、执行init.sh
sudo apt install -y iptables ufw
sudo /opt/polevpn_server/tools/init.sh
2.5、生成新证书
cd /opt/polevpn_server/tools && sudo ./createtls.sh

2.6、以系统服务的形式运行
sudo cp /opt/polevpn_server/polevpn.service /etc/systemd/system
2.8、创建日志目录
sudo mkdir /opt/polevpn_server/logs
2.8、运行服务
2.8.1、开机自启
sudo systemctl enable polevpn
2.8.2、启动服务
sudo systemctl start polevpn
2.8.3、查看服务
sudo systemctl status polevpn

2.8.4、停止服务
sudo systemctl stop polevpn
2.9、创建用户
nano /opt/polevpn_server/users.credentials
三、连接测试
3.1、windows
3.1.1、下载客户端
3.1.2、管理员身份运行init.bat 安装虚拟网卡
3.1.3、双击运行PoleVPN.exe
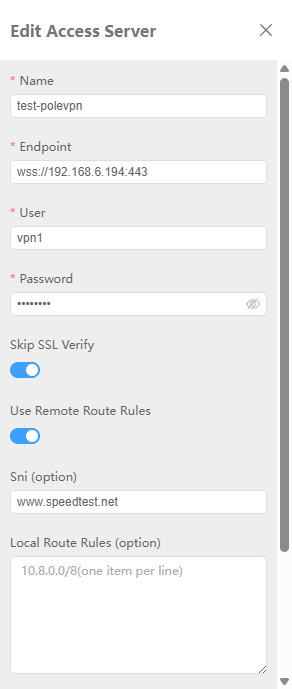
3.1.4、配置客户端
- 点击 + 号添加 AccessServer
- name 随意填
- endpoint 填wss://服务ip:端口 或者h3s://服务器ip:端口
- user 用户名
- pwd 密码
- sni 建议填 www.speedtest.net,www.bing.com,www.apple.com,zoom.us,www.rri.ro 或者其他没有被block 的国外网站名字
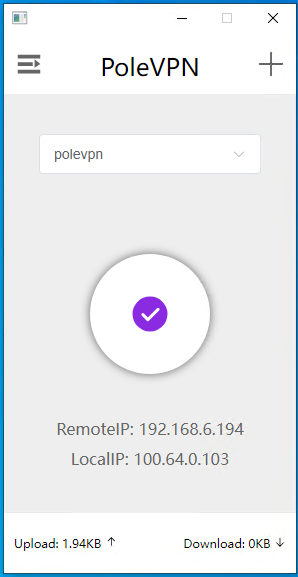
- 其他的全部默认保存配置,点击小飞机,启动vpn
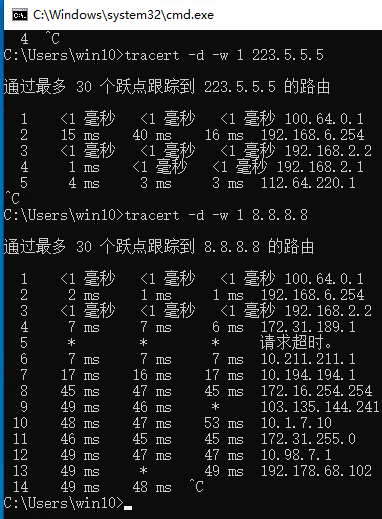
3.1.5、windwos客户端问题
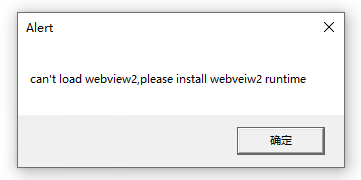
init.bat 安装虚拟网卡后,双击运行PoleVPN.exe报错如下,请按照图片中的步骤解决。

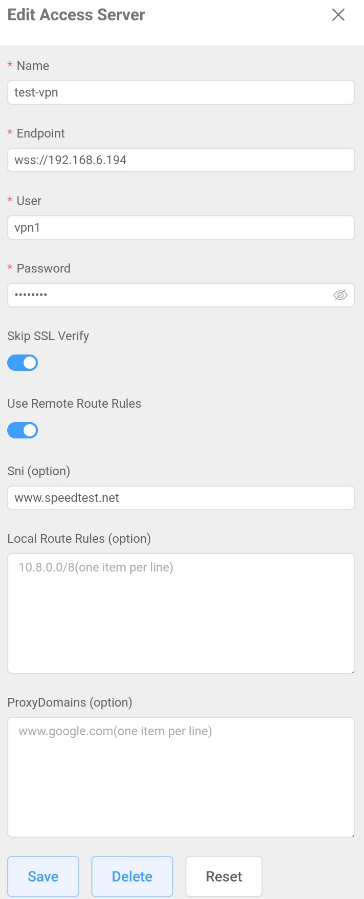
3.2、安卓手机测试
3.2.1、下载客户端
- 点击 + 号添加 AccessServer
- name 随意填
- endpoint 填wss://服务ip:端口 或者h3s://服务器ip:端口
- user 用户名
- pwd 密码
- sni 建议填 www.speedtest.net,www.bing.com,www.apple.com,zoom.us,www.rri.ro 或者其他没有被block 的国外网站名字
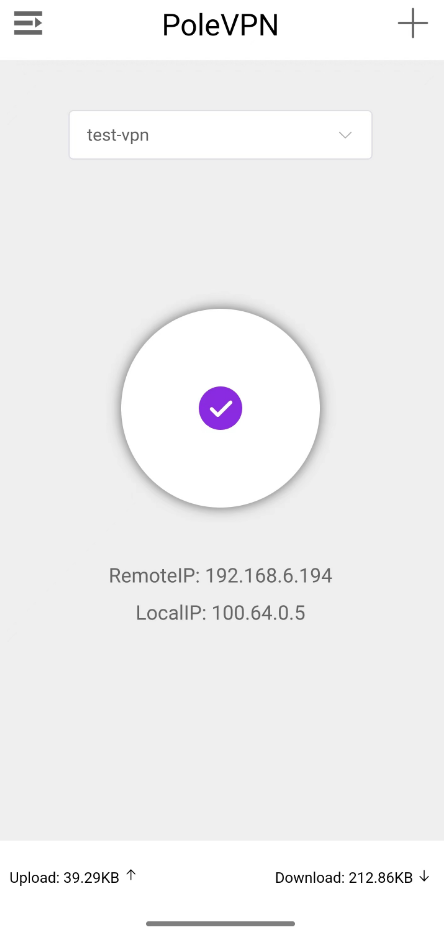
- 其他的全部默认保存配置,点击小飞机,启动vpn
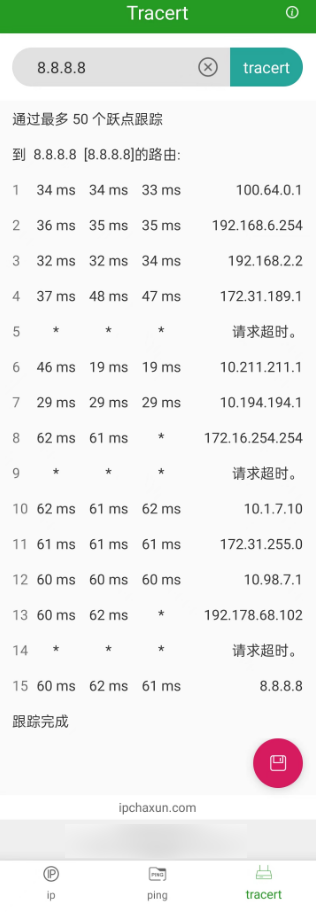
3.3、其他客户端下载
四、安装Web管理
4.1、更新系统
cd /root
sudo apt update
4.2、安装PIP
sudo apt install -y python3-pip
4.3、安装Flask
pip install flask
4.4、下载配置文件
wget -P /root https://pan.yydy.link:2023/d/share/polevpn-web/polevpn-web.tar
4.5、解压文件
tar -xvf polevpn-web.tar -C /opt/polevpn_server
cd /opt/polevpn_server/
mv polevpn-web/* ./
rm -rf polevpn-web
chmod 664 static
chmod 664 templates
4.6、配置polevpn-web为系统服务
nano /etc/systemd/system/polevpn-web.service
[Unit]
Description=Flask App
After=network.target

[Service]
User=root
WorkingDirectory=/opt/polevpn_server
ExecStart=/usr/bin/python3 /opt/polevpn_server/web.py
Restart=always

[Install]
WantedBy=multi-user.target
4.7、重新加载 systemd 配置
sudo systemctl daemon-reload
4.8、启用服务,开机自启动
sudo systemctl enable polevpn-web
4.9、启动服务
sudo systemctl start polevpn-web
4.10、查看状态
sudo systemctl status polevpn-web
4.11、Web访问
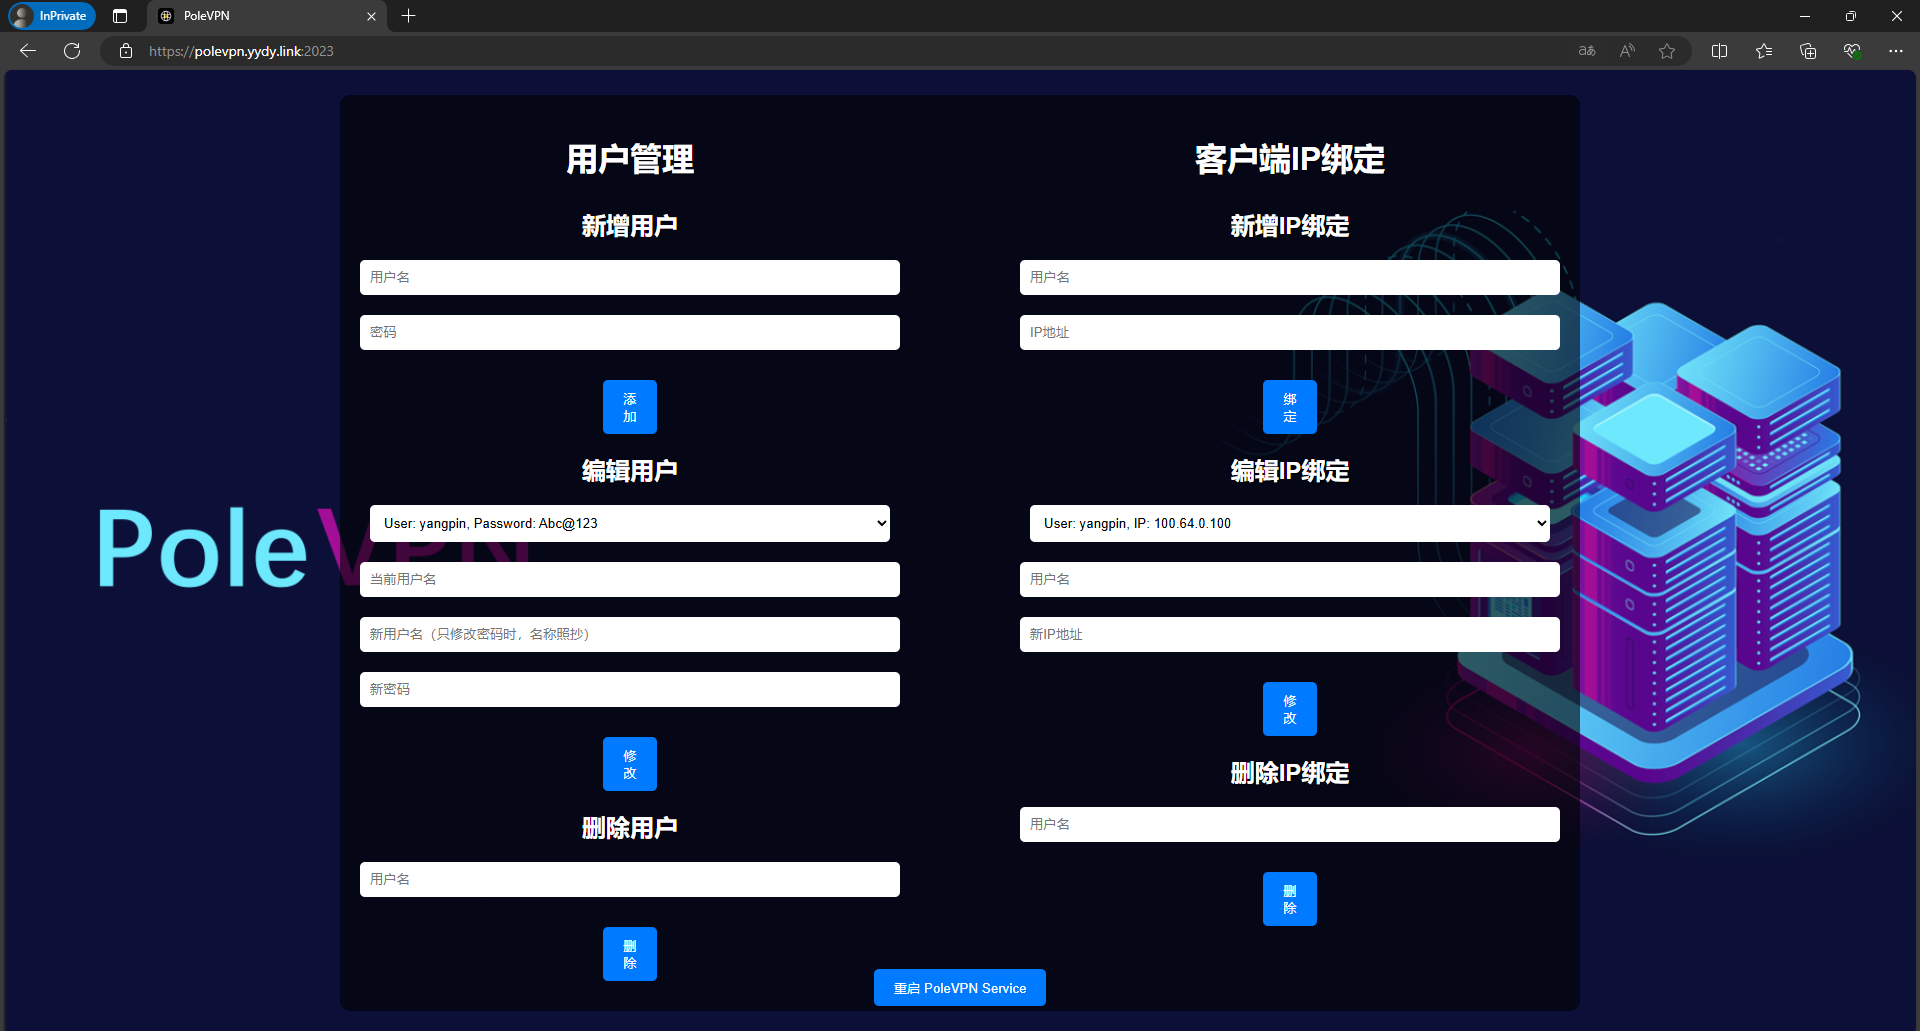
打开http://ip:5000
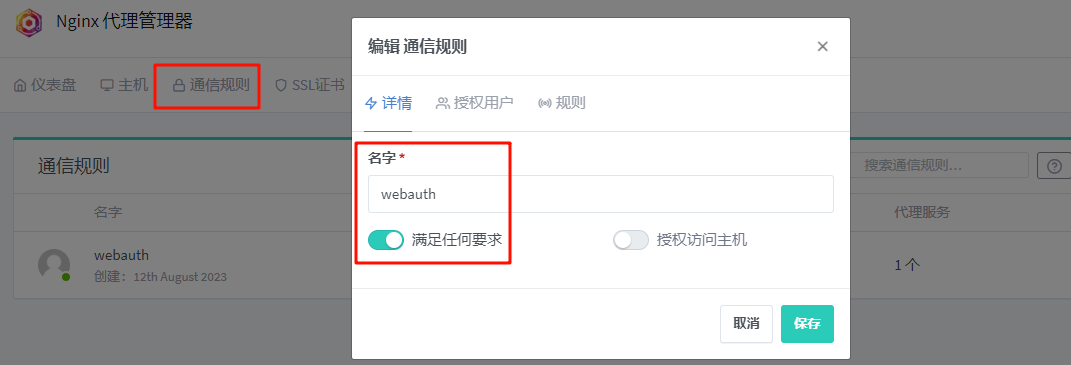
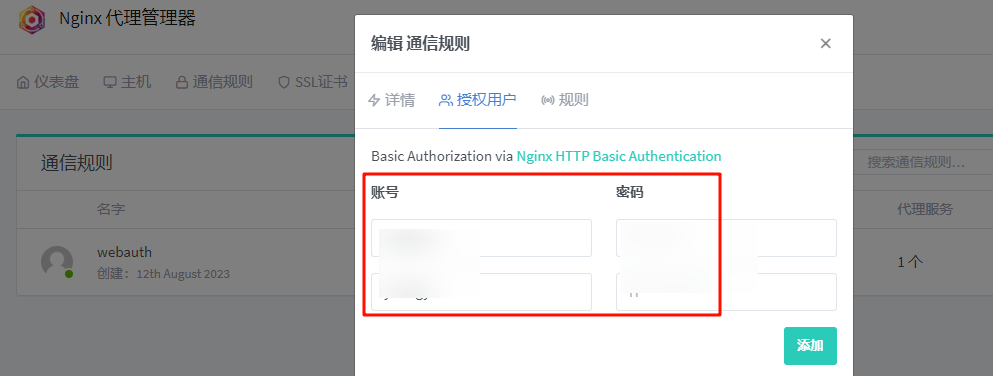
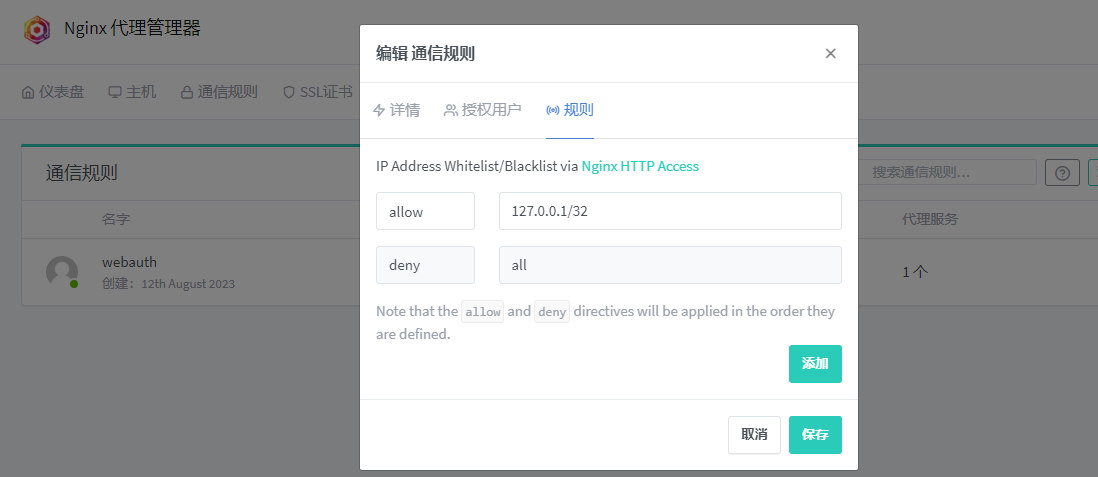
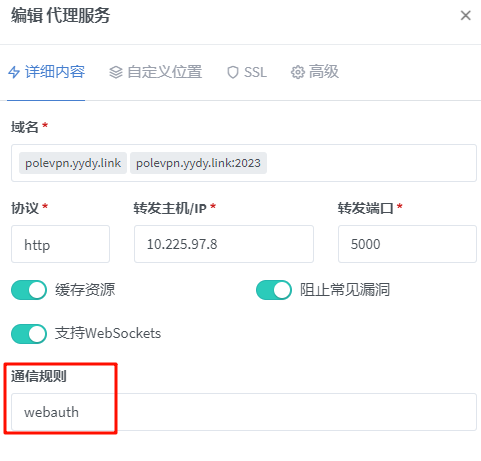
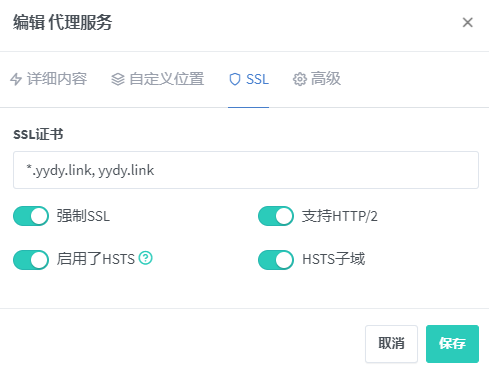
五、Nginx反代Web管理

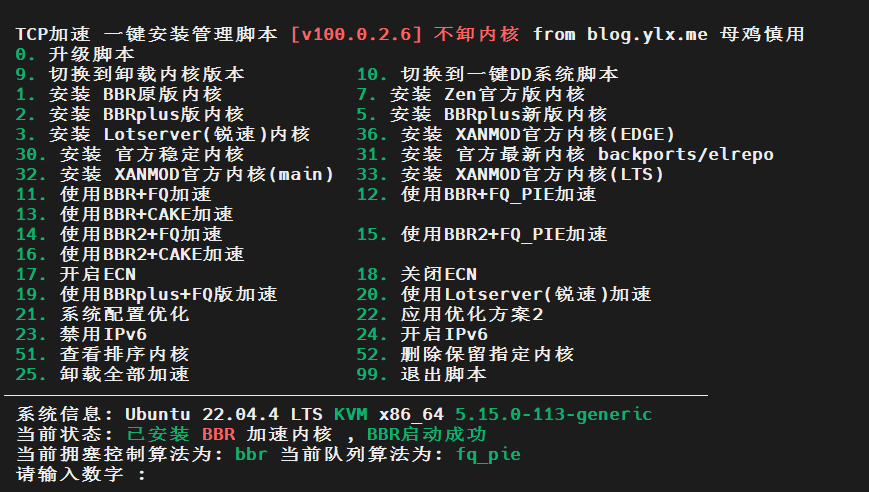
六、服务器开启BBR
6.1、下载脚本
curl -sS -O https://kejilion.pro/kejilion.sh && chmod +x kejilion.sh && ./kejilion.sh
6.2、开启BBR
