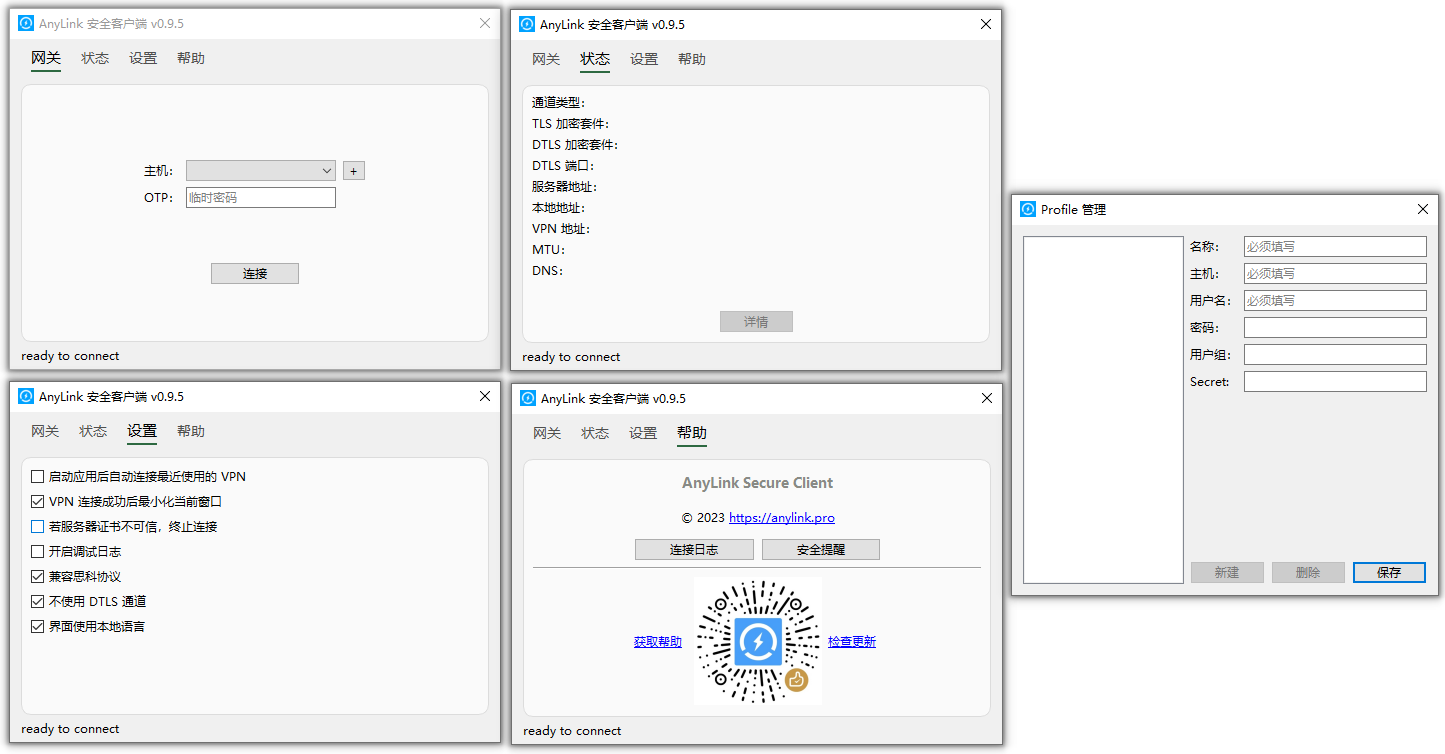
文章介绍:开源篇21中介绍vyos使用二进制模式部署AnyLink,附带解释了多种网络模式的配置方式,本期介绍使用vyos内置容器命令,使用docker的方式部署,vyos中原生安装的是podman与docker类似,docker安装anylink采用docker run命令,podman则是podman run。
Podman 和 Docker 是两种用于管理容器的工具,虽然它们在功能上有许多相似之处,但也有一些重要的区别:
-
架构设计:
- Docker:采用客户端-服务端架构,即有一个守护进程(
dockerd),客户端通过 Docker API 与守护进程通信来管理容器。这意味着 Docker 需要守护进程持续运行来支持容器操作。 - Podman:无守护进程。Podman 是一个“无守护进程”的容器管理工具,用户直接与容器交互,而不需要运行任何后台守护进程,这使得它更轻量化,适合没有长期运行的服务需求的场景。
- Docker:采用客户端-服务端架构,即有一个守护进程(
-
权限管理:
- Docker:默认需要 root 权限运行,虽然也可以通过
rootless mode实现无 root 权限运行,但实现上复杂,且可能有一些功能限制。 - Podman:天然支持无 root 运行(
rootless containers),安全性更高,特别适合多用户环境中不希望赋予 root 权限的情况。
- Docker:默认需要 root 权限运行,虽然也可以通过
-
容器与 Pod 支持:
- Docker:主要管理单个容器,虽然可以通过 Docker Compose 等工具管理多个容器的编排,但每个容器是独立运行的。
- Podman:直接支持 Kubernetes 风格的 Pod,允许多个容器在同一个 Pod 中运行,共享网络和存储空间。这使得 Podman 更容易与 Kubernetes 环境集成。
-
兼容性:
- Docker:与 Docker API 和 Docker Compose 生态紧密集成,有广泛的社区支持和插件生态。
- Podman:与 Docker 兼容,几乎所有的 Docker 命令在 Podman 中也能正常使用(如
podman run类似于docker run)。此外,Podman 还可以生成 Kubernetes 的 YAML 配置,便于迁移到 Kubernetes。
-
镜像管理:
- Docker:依赖 Docker Hub 作为默认的镜像仓库,使用
docker pull从 Docker Hub 拉取镜像。 - Podman:也可以使用 Docker Hub,但支持使用
containers/image库来与多种镜像仓库交互,更灵活。
- Docker:依赖 Docker Hub 作为默认的镜像仓库,使用
-
运行环境:
- Docker:需要安装 Docker 守护进程才能运行容器。
- Podman:由于无守护进程设计,可以更灵活地在没有 Docker 守护进程的环境中运行。
总结来说,Podman 和 Docker 都能管理容器,但 Podman 更加轻量、安全,特别适合需要无守护进程和无 root 权限的场景,而 Docker 则因其成熟的生态系统和 API 兼容性在广泛的场景中依然非常受欢迎。
一、项目来源
1.1、Gitee-bjdgyc
1.2、GitHub-bjdgyc
二、部署准备
2.1、vyos镜像
2.2、anylink服务端
2.3、一个域名(可选)
2.4、一个公网IP(可选)
2.5、VPN客户端
2.5.1、Cisco Secure Client
2.5.2、AnyLink Client

2.6、TOTP动态令牌
2.6.1、安卓动态令牌
2.6.2、苹果动态令牌
2.7、SSH工具
三、安装VyOS
3.1、安装
3.2、基础配置
configure
set interfaces ethernet eth0 address '192.168.76.253/24'
set protocols static route 0.0.0.0/0 next-hop 192.168.76.1
set service ntp server ntp1.aliyun.com
set service ssh port '22'
set system host-name 'AnyLink'
set system login banner post-login 'Welcome YYDY-AnyLink-SSLVPN'
set system login user vyos authentication encrypted-password vyos
set system name-server 192.168.76.1
set system time-zone 'Asia/Shanghai'
commit
save
四、安装AnyLink
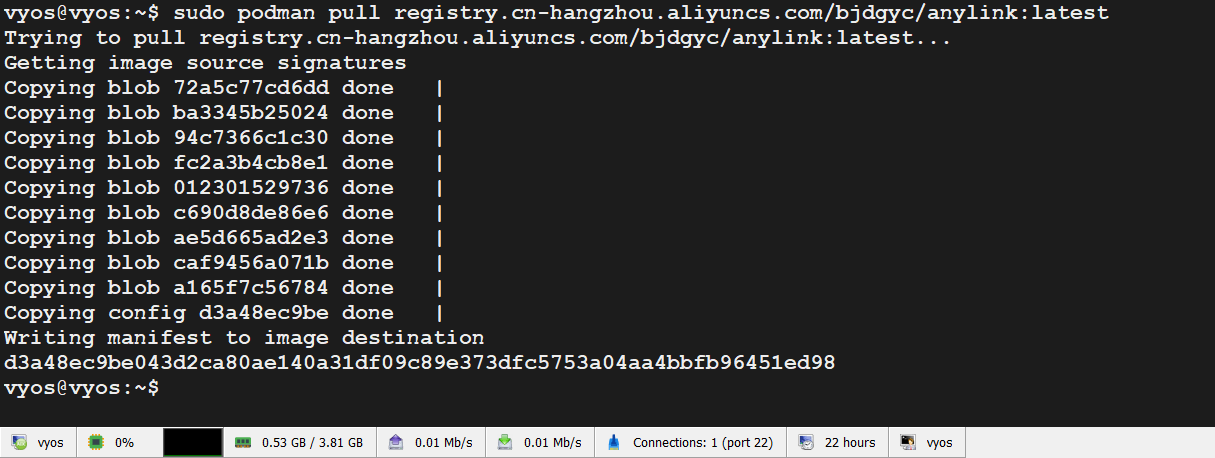
4.1、拉取镜像
sudo podman pull bjdgyc/anylink:latest
sudo podman pull registry.cn-hangzhou.aliyuncs.com/bjdgyc/anylink:latest

4.2、生成密码
sudo podman run -it --rm bjdgyc/anylink tool -p 12345678
4.3、生成 jwtsecret
sudo podman run -it --rm bjdgyc/anylink tool -s
4.4、创建容器外部文件存储位置
sudo mkdir -p /config/podman/anylink-deploy/conf && sudo mkdir -p /config/podman/anylink-deploy/log
4.5、启动容器
4.5.1、podman run 模式
sudo podman run -itd --name anylink --privileged \
    --net host \
    -p 443:443 -p 8800:8800 -p 443:443/udp \
    -v /config/podman/anylink-deploy/conf:/app/conf \
    -v /config/podman/anylink-deploy/log:/app/log \
    --restart=always \
    bjdgyc/anylink
sudo podman run -itd --name anylink --privileged \
    --net host \
    -p 443:443 -p 8800:8800 -p 443:443/udp \
    -v /config/podman/anylink-deploy/conf:/app/conf \
    -v /config/podman/anylink-deploy/log:/app/log \
    --restart=always \
    registry.cn-hangzhou.aliyuncs.com/bjdgyc/anylink:latest
4.5.2、set container 模式
set container name anylink allow-host-networks
set container name anylink image bjdgyc/anylink
set container name anylink memory '0'
set container name anylink port 443 destination '443'
set container name anylink port 443 protocol 'tcp'
set container name anylink port 443 source '443'
set container name anylink port 8800 destination '8800'
set container name anylink port 8800 protocol 'tcp'
set container name anylink port 8800 source '8800'
set container name anylink port dtls destination '443'
set container name anylink port dtls protocol 'udp'
set container name anylink port dtls source '443'
set container name anylink restart 'always'
set container name anylink volume conf destination '/app/conf'
set container name anylink volume conf source '/config/podman/anylink-deploy/conf'
set container name anylink volume log destination '/app/log'
set container name anylink volume log source '/config/podman/anylink-deploy/log'
set container name anylink allow-host-networks
set container name anylink image 'registry.cn-hangzhou.aliyuncs.com/bjdgyc/anylink:latest'
set container name anylink memory '0'
set container name anylink port 443 destination '443'
set container name anylink port 443 protocol 'tcp'
set container name anylink port 443 source '443'
set container name anylink port 8800 destination '8800'
set container name anylink port 8800 protocol 'tcp'
set container name anylink port 8800 source '8800'
set container name anylink port dtls destination '443'
set container name anylink port dtls protocol 'udp'
set container name anylink port dtls source '443'
set container name anylink restart 'always'
set container name anylink volume conf destination '/app/conf'
set container name anylink volume conf source '/config/podman/anylink-deploy/conf'
set container name anylink volume log destination '/app/log'
set container name anylink volume log source '/config/podman/anylink-deploy/log'
4.6、进入anylink目录
cd /config/podman/anylink
4.7、复制server.toml模板
sudo cp server-sample.toml server.toml
4.8、编辑server.toml
sudo nano server.toml
4.9、编辑profile.xml
sudo nano profile.xml
4.9、重启服务
4.9.1、podman run 模式
sudo podman restart anylink
4.9.2、set container 模式
run restart container anylink
restart container anylink
五、开机自启动
sudo nano /config/scripts/vyos-postconfig-bootup.script
sudo podman start anylink

